Search This Blog

Thursday, July 30, 2020

Meet the Grell.

Another day, another monster.
I'm starting to feel like an evil overlord or maybe a mad wizard cackling away in his laboratory😁

This one was fairly easy to make and if anyone were to tell me they wanted to have a go at sculpting a monster I think I'd recomend they try to make a Grell.

So...
Session one, take an aluminum foil ball, stick it on a paperclip, cover it with milliput and roughly sketch in where you want things to go.


Now I would also recomend you pause here to let the milliput harden but as I am an impatient gith...
... do as I say, not as I do...

...so I immediately added the beak.

I also decided to make the tentacles seperately as it's much simpler to form them ahead of time, and then attach them once they are fully cured, than to try and support them when they are dangling from a figure all soft and stretchy like.


Session two,

Stick a blob of putty on the bottom and jamm all those tentacles in then draw a bunch of lines on it with your sculpting tool to make the blob look like the hairs / frills on the bottom of the Grell's body.(see I told you it was much simpler this way.)

Next it was a simple matter of rolling up a bunch of tiny saussages and laying them down in a kind of brain looking pattern.


Et voila, Grell's your uncle!

And a quick pic with our helpfull friend the Splintered light beastman for size.


Another monster done, back to the Monster Manual for more! Muhahahahah!!!

Cheers,
Stroezie.

Saturday, July 25, 2020

More Sculpting.

I seem to have caught the sculpting bug again.
Best to make the most use of it then.😉

I started of with a conversion of a splintered light Chimera.
Instead of glueing on the three heads I sculpted it a new one and gave it a spiked ball tail, turning it into a Manticore.
I was going for a blend of human and leonine features but it's been a long time since I've tried doing faces and I had forgotten how much I struggle with them.
Even so, I think he looks pretty good on the tabletop, so I am happy with it.


And here's the little fellow with some paint on him and his cousins flanking him so you can get an idea of what the original mini looks like.


The next two sculpts are going to be another D&D classic, the Carrion Crawler.
This was actually the first monster I ever ran back when I first started playing D&D as a kid, so I've always had a bit of a soft spot for it.

Now the Carrion Crawler has gone through quite a few desingn changes throughout the various editions and they all had things I liked about them and things I didn't, therefore mine will be an amalgamation of all of those plus whatever I think looks cool or I think I can pull of within my limited sculpting abilities.

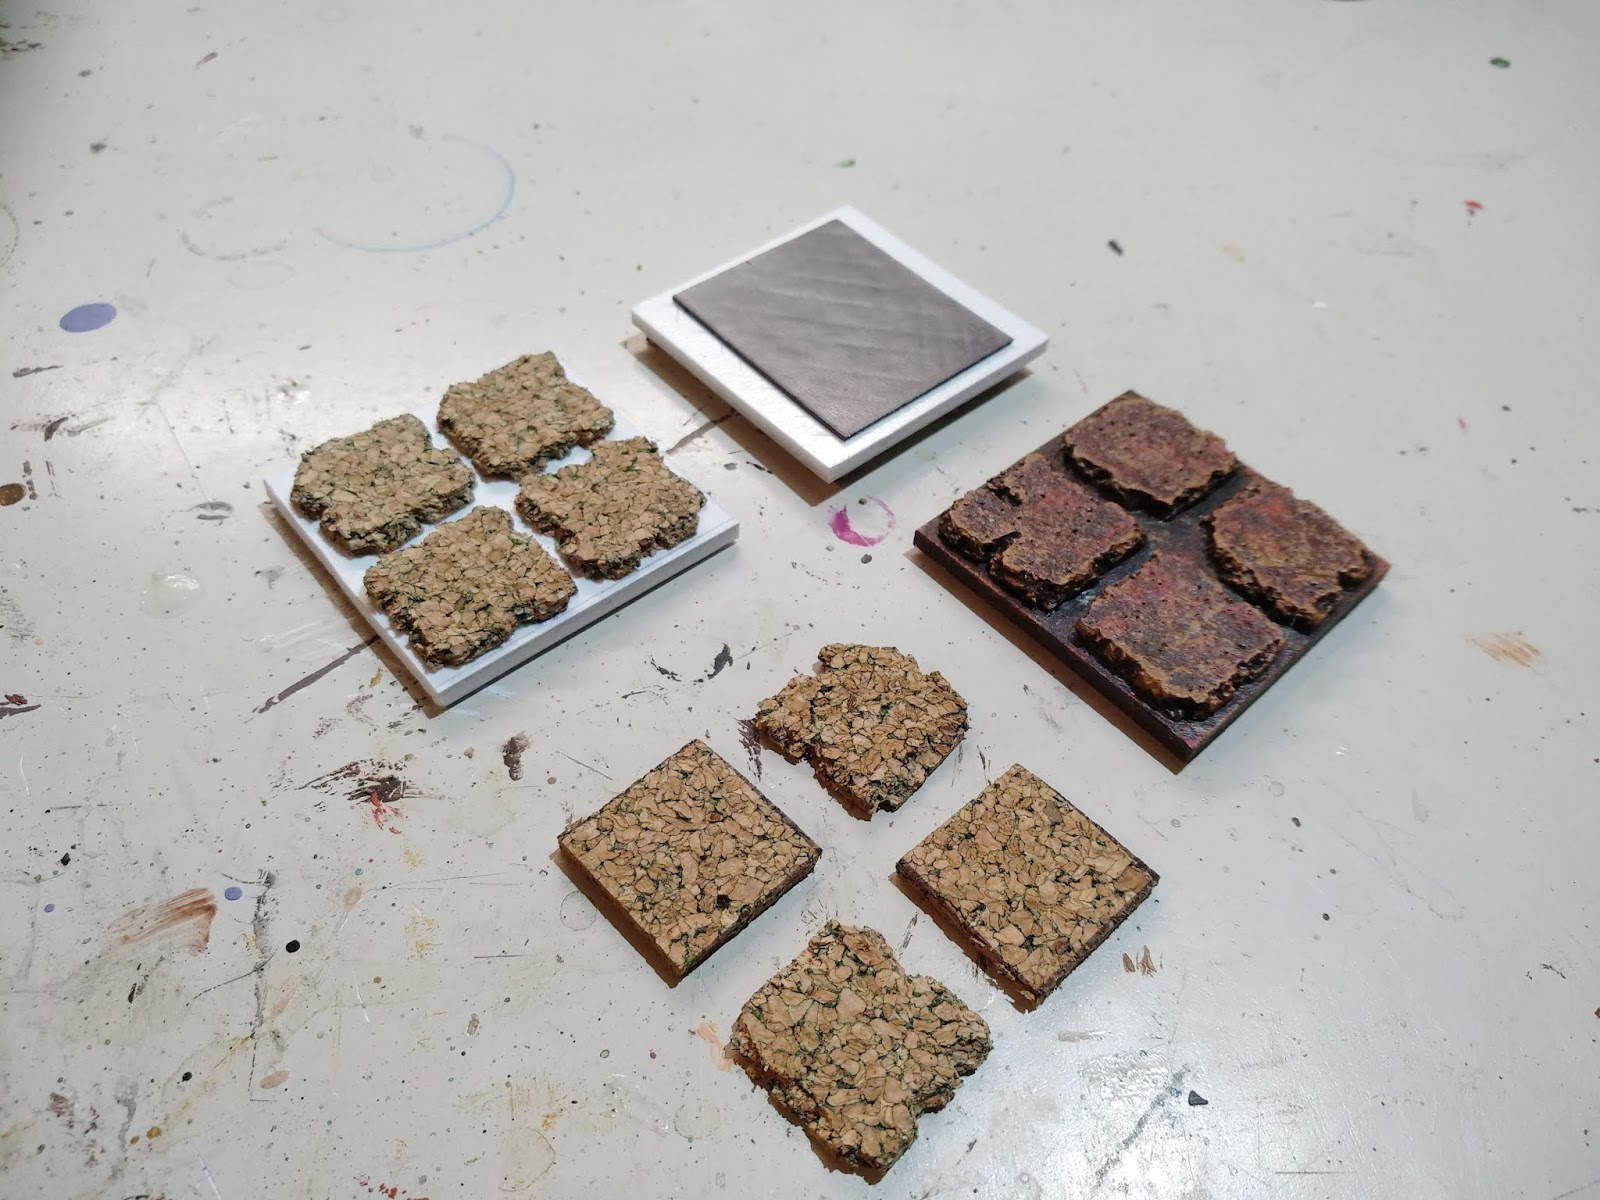
Now, because a number of people have asked about my sculpting process I thought I'd post photos of these session by session.
Be warned ,I am a very unorganised, chaotic builder / sculpter so it might get rough sometimes.

So first session:
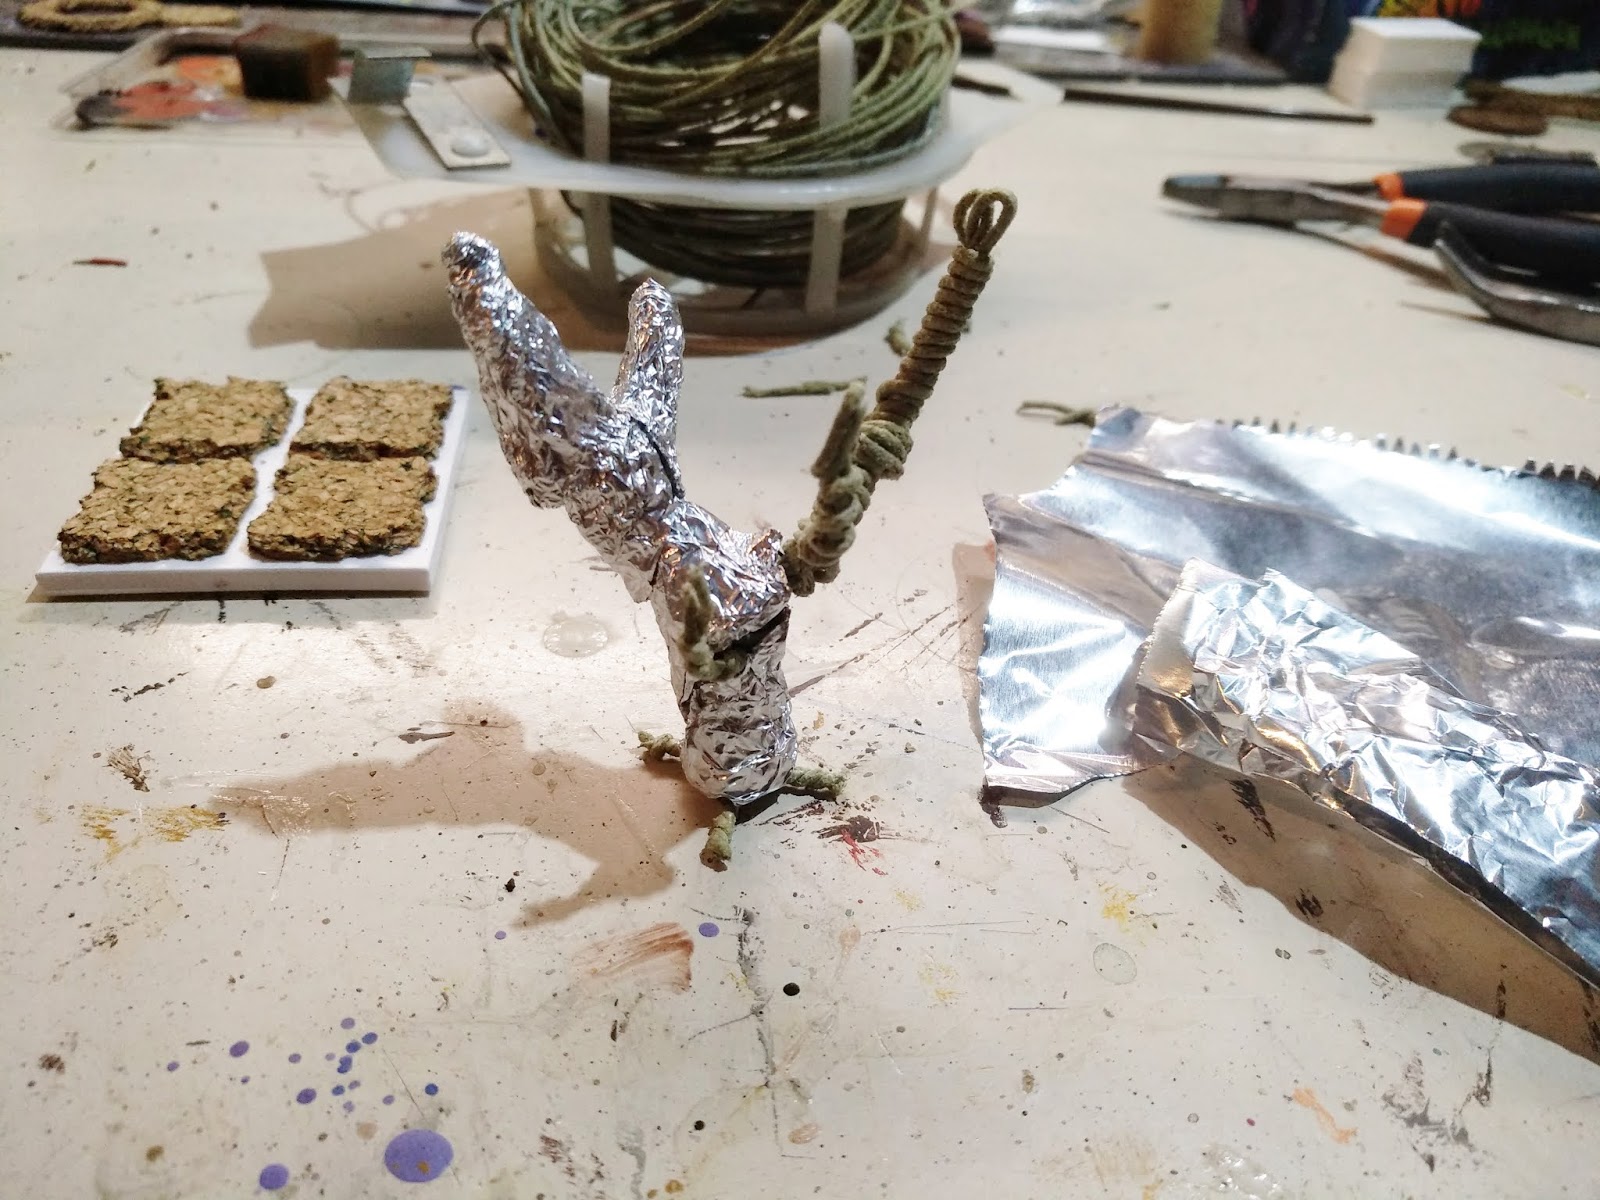
I made an armature out of aluminium foil and promptly forgot to photograph it (don't worry I'll get the next one)
Then I covered that in a thin layer of green stuff and roughly sketched in the belly plates and started on adding the legs.
That's it for the first session.


Second session.
I added the rest of the legs and started on the head, adding a little more bulk and starting to detail the eyes.
The teeth were also adde at this stage.


I used the left over putty to sculpt the first chitin plate and there ends session two.


Session three:

Here's that armature I promised you (see I told you it was going to be unplanned and chaotic ;-)


Not really much to see there so...
...back to the sculpting,

I added the mandibles and the euh...    ...lips I guess,


And did another plate of chitin on its back.
I also decided the rear end was to plain looking so I started adding some detail there too.


Session four,
more backplates, butt detail and starting to cover the second armature with the first layer of green stuff.


Session five, more backplates...


Session six,
finished the first crawler by adding the tentacles and made some serious headway on the second one.
I actually made the tentacles, legs and mandibles ahead of time and let them fully cure before attaching them with a teeny weeny ball of green stuff and some super glue, this greatly sped up the process.


Here's a picture of the finished crawler next to a Splintered Light beastman to give you an idea of the size.


Well that's it for now.
Next time we finish the second one and get some paint on them.

Cheers,
Stroezie.

Thursday, July 16, 2020

How to Summon a Monster.

First we build a metal framework to hold the creature during the summoning process.


Then we mix the four basic elements together to form the sacred "Green Stuff" (50/50 mix milliput / kneadatite)


and with the hard and soft implements we alternately press, poke and caress the putty into a similitude of the creature we wish to conjure.


Slowly the creature takes form...


untill finally, after much patience and detailed work...       ...succes!!!


Now through the use of various mythic pigments, we bring our monster to life.
And lastly we give it a small offering of flock and bind it to this plane of existence with a final "Ard Coat".


Behold fellow practitionners of the arcane arts: "the Othyug!"
Never shall we have to worry about where to get rid of our excrement again!
Or worry about those pesky adventurers surprising us during number two for that matter.


Cheers,
Stroezie.

Wednesday, July 15, 2020

More Shrooms and Dark Elves.

I decided to experiment a little to see if I couldn't come up with an idea to make more mushrooms quickly.

After rummaging through the bits box I came up with these.


Different sizes of half beads and .177 and .22 airgun pellets => instant mushrooms.


Not as good looking as my fully sculpted ones  but way faster to make so I'll take 'em!

I decided to try doing a tree to.
It looks ok but I think I'll stick to making these  fully by hand as there  is much less of a time save.


On the  minis side of things, I decided that my dark elves lacked leadership so I painted up a priestess and her fiendish bodyguard.
(both are from Splintered light miniatures)
The figure on the ground was made from all the green stuff and milliput leftovers from other sculpting projects.


Well, that's it for now.
Next time we learn how to summon monsters...

Cheers,
Stroezie.


Wednesday, July 8, 2020

More D&D Baddies.

Just a simple update of the models I managed to paint these last few weeks.
They are all from Ral Partha's Demonworld line.

I did three more trolls, they are a bit darker then the two previous ones but then these are obviously more civilised and thats enough of an explanation for me. 😉

Another oger cause all good things come in threes.


A murder of harpies...


More death from above in the form of some savage gargoyles


And last but not least, a dark elf raiding party


More to come...        ...soonish...

Cheers,
Stroezie.

How To Grow a Mushroom Tree.

Ok so, as promised in my previous post, here's a little tutorial for my mushroom trees.

First though, because some people have asked about them and because my trees are based on them, a quick rundown of my basic cavern tiles.

The tiles are cut from 3mm perspex , its a material kind of like foamcore but more dense / sturdy. It doesn't warp as easily but can still be cut with a hobby knife.
The stone texture on top is simply corck tiles with the edges roughed up so the are more of an irregular shape.
And then underneath the tile I stick a square of magnetic paper so the tiles don't slide around on the board.


"Ok, enough about the stupid tiles!"
"We want to know about the mushroom trees!"

Right, lets get cracking...

You start by twisting floral wire into a general tree shape, just like you would while making standard wargame trees.


Then you bulk out the tunk and branches with aluminium foil.
I've found that rolling the foil into a kind of loose sausage makes it a lot easier to wrap it around the armature as the tend to hold their shape better once you compress them down.


Next you glue the tree to the base and then you cover the entire thing in a layer of hotglue.


Once the entire thing is covered in hotglue its time to start texturing it.
You could probably do this with the tip of your hotglue gun but the nozzle on mine proved to be a bit to bulky so I opted to use a sculpting tool with a small round head.
Simply heat it over a candle flame and drag it through the hotglue to create a bark like texture.


Once thats finished you can hit it with a quick blast from a hairdrier to get rid of any hot glue whisps that may have developed ( not to long or you'll melt the texture too)

And finally we come to the more familliar medium of two part epoxy putties.
I chose to do the caps in plumbers putty, because I'm an impatient gith and that stuff sets in five to ten minutes, but you can just use green stuff if that's all you have.


Then its just a matter of sculpting the roots, the nodules on the bark and the spots on the caps. Nothing to complicated, just roll some balls and sausages and stick them on where ever you like.


And now you have your very own mushroom tree, just prime and paint it any way you like...


I hope all of that made at least a bit of sense to you, If you have any questions I'll be happy to answer them all in the comments.

Cheers,
Stroezie.

Thursday, July 2, 2020

More Caves and Mushrooms.

I managed to make some more progress on my modular cavern terrain.

I wanted a way to add some elevation so I made some simple risers from foamcore and some wall pieces to go in front of them.


I like them, but I will be experimenting some more I think to break up that ruler straight line.

As I was about to paint the last wall piece I suddenly thought to myself "I could paint this blue and have a little waterfall !" and so...


Then, as a change of pace, I decided to try my hand at some more fungus terrain.

I made two mushroom trees.


I really like how these turned out and I'll definately be making more of them.
If people are interested I may even do a little tutorial.

And then of course I couldn't resist building a little encounter, just to see how it all goes together.

Perfect for a big end battle! 😉


And of course a close up of our two heroes about to enter into an epic battle with their fungal opponents.


That's it for now.

Cheers,
Stroezie.